Assets
An asset is any file you store against your books and people: a cover image, a manuscript, an audiobook, a promotional graphic. Pubblish keeps every file in one place and sorts it into a category. You can tag it, link it to a title, and download it again later. This guide shows you how to upload files, organize them, and get them back out.
Where your assets live
There are two ways to reach your files.
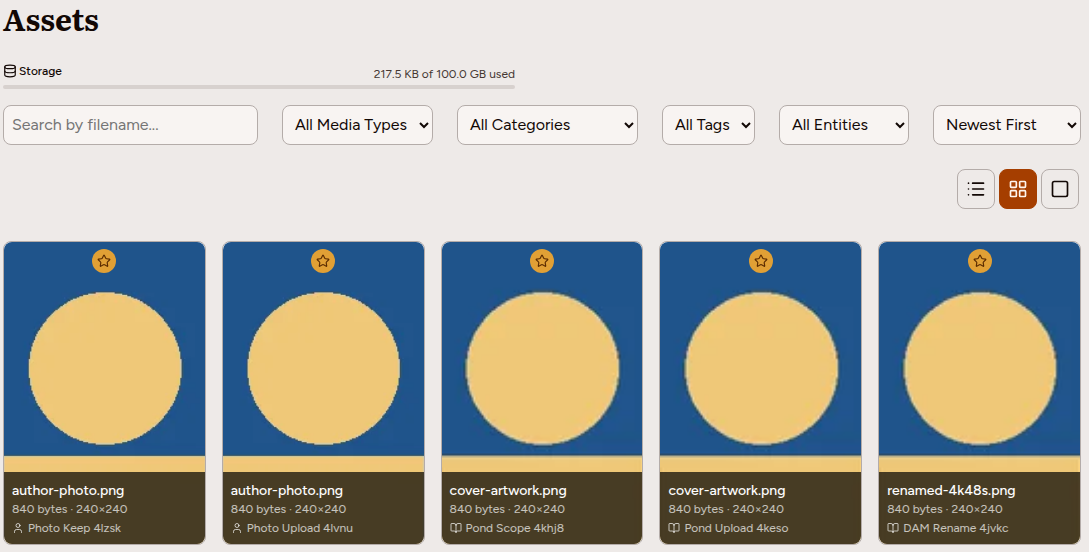
- The Assets library, under Media in the sidebar, shows every file across your whole catalog. Use it to search, filter, and download in bulk.
- A title, a contributor, and a person each have their own Assets area on their edit page. This shows only the files linked to that one record.
You can upload in both places. A file uploaded on a record’s Assets area is linked to that record. A file uploaded in the library is linked to nothing — it appears under the library’s Unattached filter.
An imprint works differently. Its side panel has an Assets section holding one button, Open asset library, which browses the files already filed under that imprint. It is not an upload area, and a file dropped in the library does not link itself to the imprint. Set an imprint’s logo from the logo slot on its panel instead.
Uploading files
The usual place to add files is a record’s Assets area, so each file is linked to the right book or person from the start.
- Open a title, then click the Assets tab. (For a contributor, open the record and scroll to its Assets section. For a person, save the person first, then open their Documents tab.)
- Drag one or more files onto the drop zone, or click it to pick files.
- Each file uploads and appears as a card.
Pubblish sorts each upload into a category automatically. If the category is wrong, open the file’s details with the ⋮ button and change it there. Every file you upload here is linked to the record you uploaded it on.
Save a new title before you upload to it. The Assets tab opens either way, but until the title is saved it holds only the line “Save the title first to upload assets.” A new contributor says the same thing.
Categories and tags
Categories and tags do two different jobs. Use both.
A category says what kind of file it is. Categories come from a fixed list, grouped by media type:
- Images: Front Cover, Back Cover, Audiobook Cover, Full Wrap, Spine, Author Photos, Interior Samples, Promotional, Logos
- Documents: Manuscript, Edition Files, Marketing Materials, Uncategorized, Contract, Tax Forms, Banking, and Correspondence
- Audio: Full Audiobook, Sample Clips
- Video: Trailer, Author Interview, Behind the Scenes
You set a file’s category in its details panel: click the ⋮ button on the card, then use the Category dropdown. A file already in a confidential category shows its category as plain text instead, with a note that an owner or an admin can change it. Pubblish guesses a category from the filename when you upload. A document it cannot identify is filed under Uncategorized. Files in Edition Files — the complete EPUB or print PDF of a title — also carry a status: Draft, Proof, or Final. Only a Final file can be offered to readers; set the status on the same panel.
A tag is your own label. Add tags like UK, Instagram, or 3D Mockup to group files your own way, across categories. Tags live in the details panel too, under Tags: click the + button to add one, and the × on a tag to remove it.
Use a category to answer “what is this file?” Use a tag to answer “which of my files belong together?” A cover is always in the Front Cover category, but you might tag some covers UK and others US.
Linking assets to titles and editions
An asset links to a title when you upload it on that title’s Assets tab. This is how covers, manuscripts, and promotional files stay attached to the right book.
Editions do not have their own upload area. All formats of a book share the title’s files. The cover shown on each edition is the title’s primary Front Cover.
Setting the primary asset
Open the file’s details with the ⋮ button, then click the star in the row of buttons along the bottom of the panel. That makes the file the primary asset for its category on that record. A card already showing a star at the top is the primary one; the star on the card is a marker, not a button.
The primary asset is the one Pubblish uses when it needs a single file from that category. For a title, the primary Front Cover is the cover shown on the title and its editions.
You can hold several files in one category, but only one can be primary at a time. Setting a new primary clears the star from the old one.
Once you have picked the file to keep, you can clear out the alternatives in one step. In the same row of buttons, click Delete others in this category (the stacked-layers icon). Pubblish deletes every other file in the same category on that record, keeps this one, and makes it primary. You are asked to confirm first, and it cannot be undone.
Author photos
A person, a contributor, and each contributor row on a title show a round photo slot. This is a shortcut for setting a headshot without opening the full asset area.
Click the photo slot, or drop an image on it, to set the photo. It becomes the primary Author Photos asset for that person or contributor. On an imprint the same slot sets the primary Logos image. Click the × on the photo to remove it.
Replacing a file and previous versions
To swap the file without losing its category, tags, or primary status, click the card’s ⋮ button to open its details, then click Replace in the row of buttons at the bottom of the panel (hover an icon to see its name). Pick the new file. Its category, tags and primary status stay; only the contents change.
When you replace a file, Pubblish keeps the old one as a previous version. The panel then shows a Previous versions section listing them as v1, v2, and so on. You can download any previous version, and Delete old versions removes them all and frees the storage they use.
Previous versions are download-only history. There is no button to restore an old version in place. To go back to an earlier file, download it, then use Replace to put it back.
Downloading assets
To download one file, click its card’s ⋮ button to open its details, then click Download in the row of buttons at the bottom of the panel.
To download several at once:
- Go to the Assets library.
- Select the files (each card has a checkbox).
-
Use the bar that appears at the top:
-
Download saves each selected file on its own. When you select more than one, this button reads Download (Individual).
- Download ZIP appears once you select more than one file. It packages them into a single ZIP archive.
A ZIP download is capped at 200 files or 500 MB. If a selection is over either limit, the download is refused. Select fewer files and try again.
Supported file types
Pubblish accepts a wide range of formats across four media types:
| Media type | Formats |
|---|---|
| Images | JPG, PNG, WebP, GIF, TIFF, SVG, plus design files (PSD, AI, InDesign, EPS, Affinity) |
| Documents | PDF, Word (DOCX), EPUB, Markdown (MD), Plain Text (TXT) — Markdown and plain text are accepted in the Manuscript category only |
| Audio | MP3, M4A, M4B, WAV, FLAC |
| Video | MP4, MOV, WebM |
Each format has its own size limit. Everyday images are capped at 20 MB. Design file formats such as PSD and InDesign allow up to 500 MB. If a file is too large, the upload is refused.
A Word document (.docx), Markdown (.md), or plain text (.txt) file carries an extra Quick Convert button in its details panel, whichever category it is filed under. It sends the file to a conversion. See Conversions.
A note on confidential files
Some categories are confidential: Manuscript, Uncategorized, Contract, Tax Forms, Banking, and Correspondence. Files in them stay inside your workspace. Three things follow:
- Contract, Tax Forms, Banking, and Correspondence files can be seen and downloaded only by owners and admins. An editor does not see them at all. Manuscript and Uncategorized files are visible to every member.
- They are never sent to readers. The file pickers for reader magnets (free files offered to new subscribers) and beta reads (review copies for invited readers) show them grayed out, with the reason. You cannot pick them.
- To share such a file, change its category — in Assets, or in the Confidential files section under the picker itself. An Uncategorized file can be re-filed by any member, because it is only a file Pubblish could not identify. Every other confidential category needs an owner or an admin.
Storage
If your plan sets a storage limit, a Storage meter shows at the top of the Assets library with how much you have used. When it fills up, delete files you no longer need, or add storage, to upload more.
Related Topics
- Titles — where you upload a book’s cover and manuscript
- People and contributors — where author photos live
- Conversions — turn a manuscript into an ebook
- Websites — how your covers reach a public book page